AEM distribution agents execute the requests by creating packages from a source Sling instance containing content for the specified paths and then pushing and installing these on a target instance.
In AEM, the distribution agent is used to push the content from the author instance to the publish instance. AEM provides the following way to replicate content:
-
Forward Distribution: “pushing” the content to target instances
-
Reverse Distribution: “pulling” content from the remote source instances
-
Sync Distribution: “synchronizing,” i.e., synchronizing content across multiple instances with a coordinating instance.
-
If you want to configure or create a forward distribution agent in the AEM touch UI, you must follow this step.
-
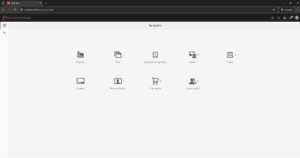
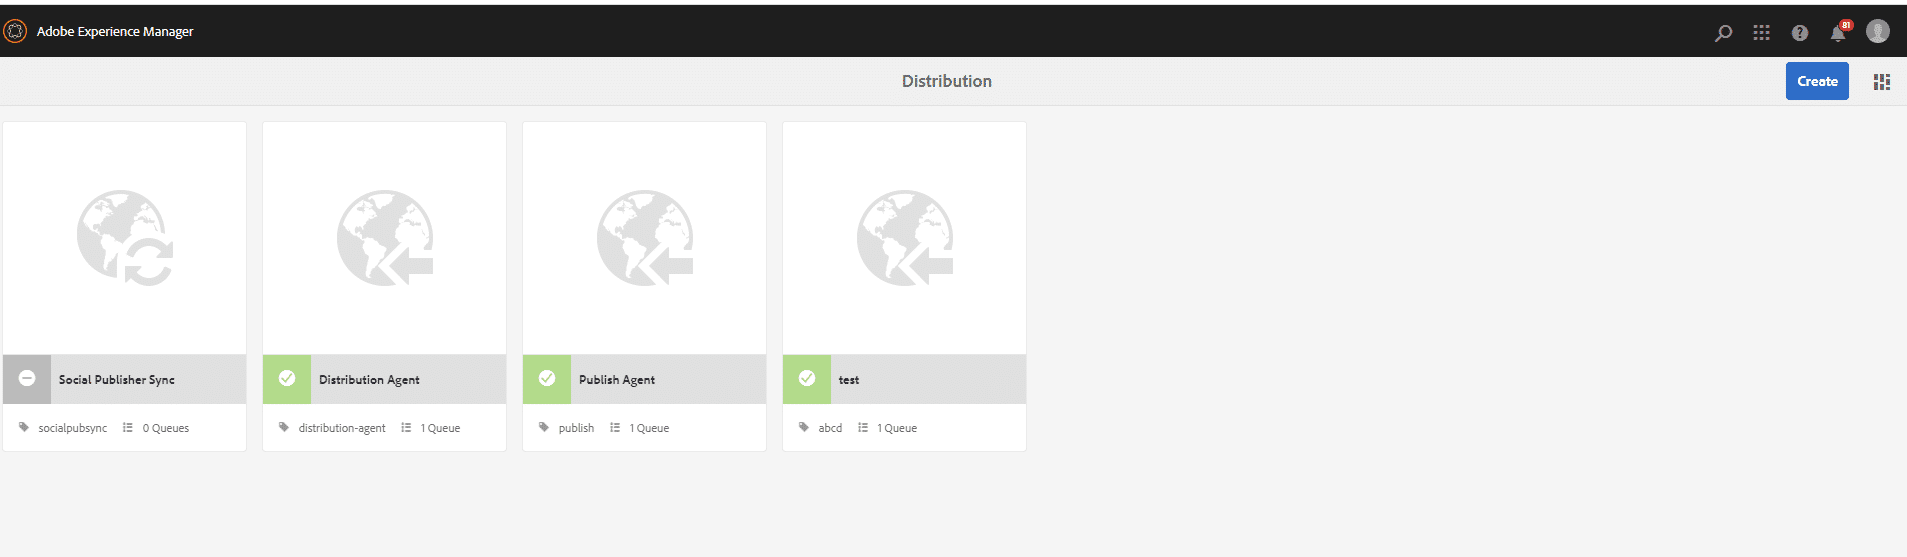
Navigate to Tools > Deployment > Distribution > Publish Agent, and click on the Publish Agent to configure your settings.
-
You can also create your custom agent by clicking on the Create button on the top right.
And fill in some information about your agent.
Note: Always keep in mind that when you provide a name to your custom agent, there should be no spaces between that name; otherwise, “JobHandlingDistributionQueue” could not add an item to the queue.
Example:
Non-compliant name: Distribution Agent (it will raise a NullPointerException)
Compliant name: customDistributionAgent
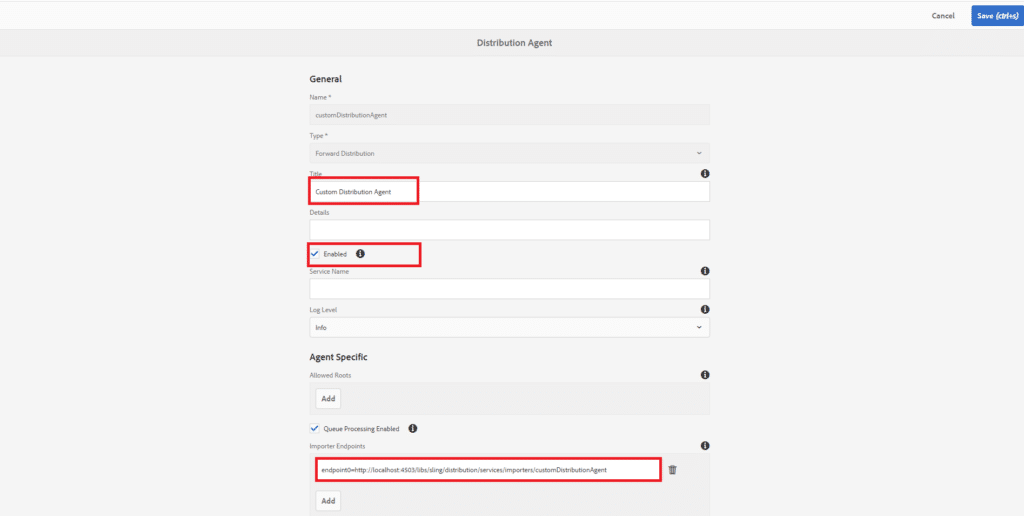
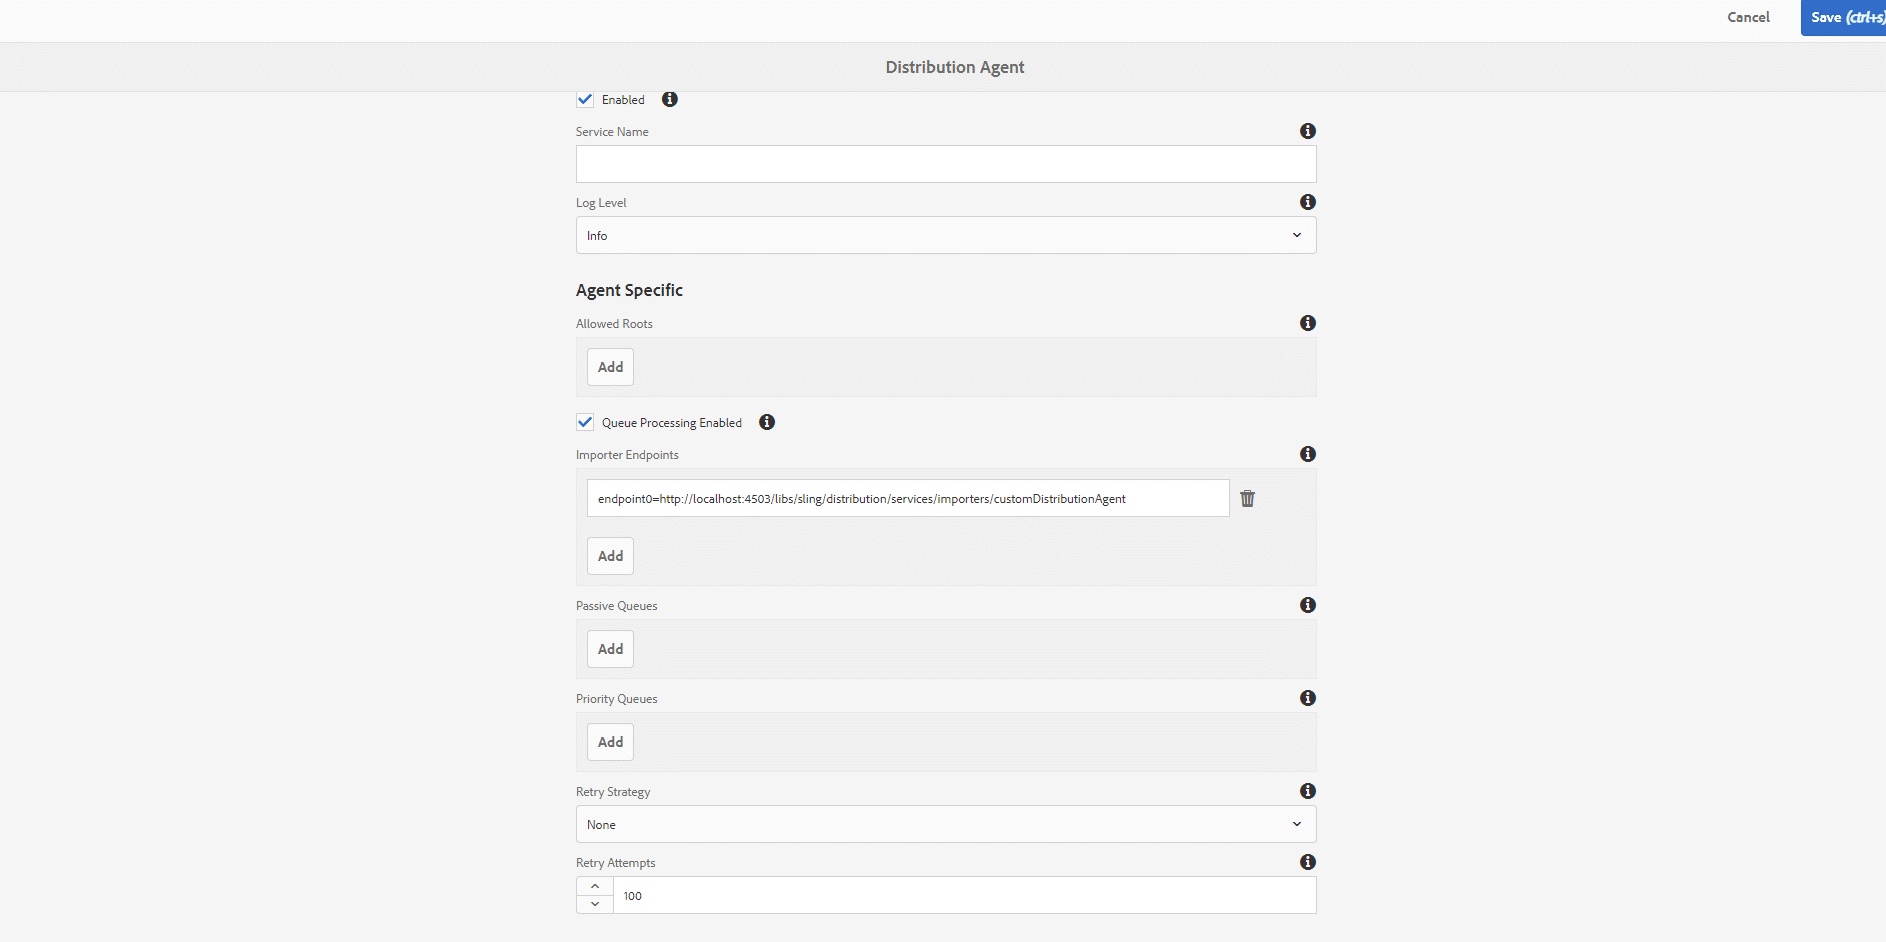
Configuration Field List:
-
Name: name of distribution Agent
-
Type: Type of Distribution Agent (ex: Forward distribution or Reverse distribution)
-
Title: Title of your distribution agent
-
Enabled: Field to Enable or Disable your agent
-
Service Name: The service name is optional, if required, create a service user with the required permission and change the level if required
-
Allowed roots: Configure the content Roots the agent allowed to distribute
-
Importer Endpoints: List of publisher endpoints to which packages are sent
An endpoint is, by default:
endpoint0=http://localhost:4503/libs/sling/distribution/services/importers/default
But you can provide your server-specific endpoint URL, like:
endpoint0=http://192.168.29.76:4503/libs/sling/distribution/services/importers/customDistributionAgent.
But for your own definition of endpoint URL, you have to configure something.
-
If you are not using the default admin credentials, then you need to configure the distribution agent with a different username and password.
Follow the steps below:
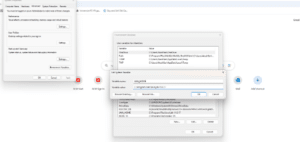
- Navigate to Tools > Operations > Web Console or http://<host>:<port>/system/console/configMgr to open the Adobe Experience Manager Web Console screen.
- Search for Apache Sling Distribution Transport Credentials – User Credentials based DistributionTransportSecretProvider.

- Create a configuration by populating the name, username, and password.
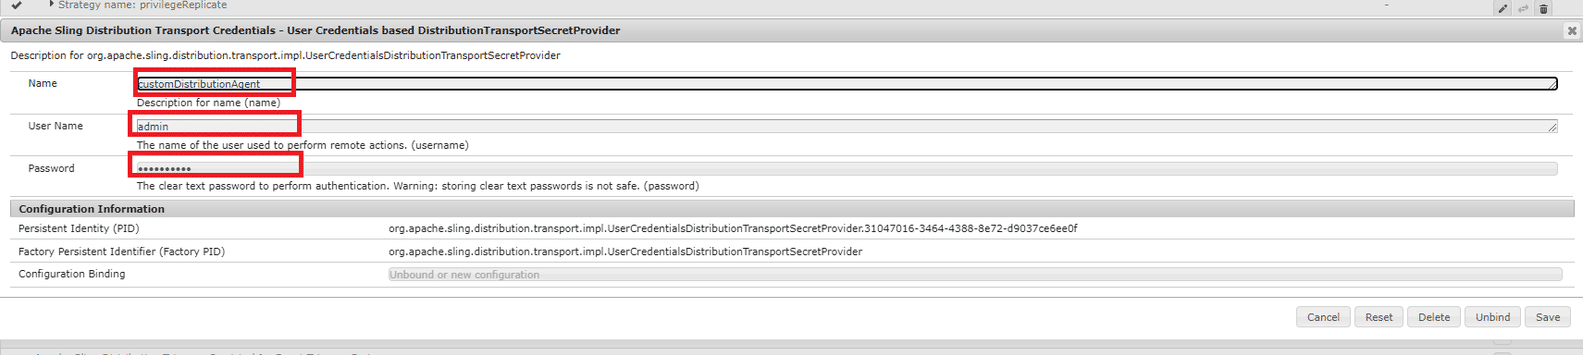
Configuration Field List:
-
Name: Give a name to DistributionTransportSecretProvider
-
User Name: Name of your publish instance user
-
password: Password of your publish instance user
- Click save.
- Use
Cmd +F to search for Apache Sling Distribution Agent – Forward Agents Factory to open the configurations and search for Transport Secret Provider.
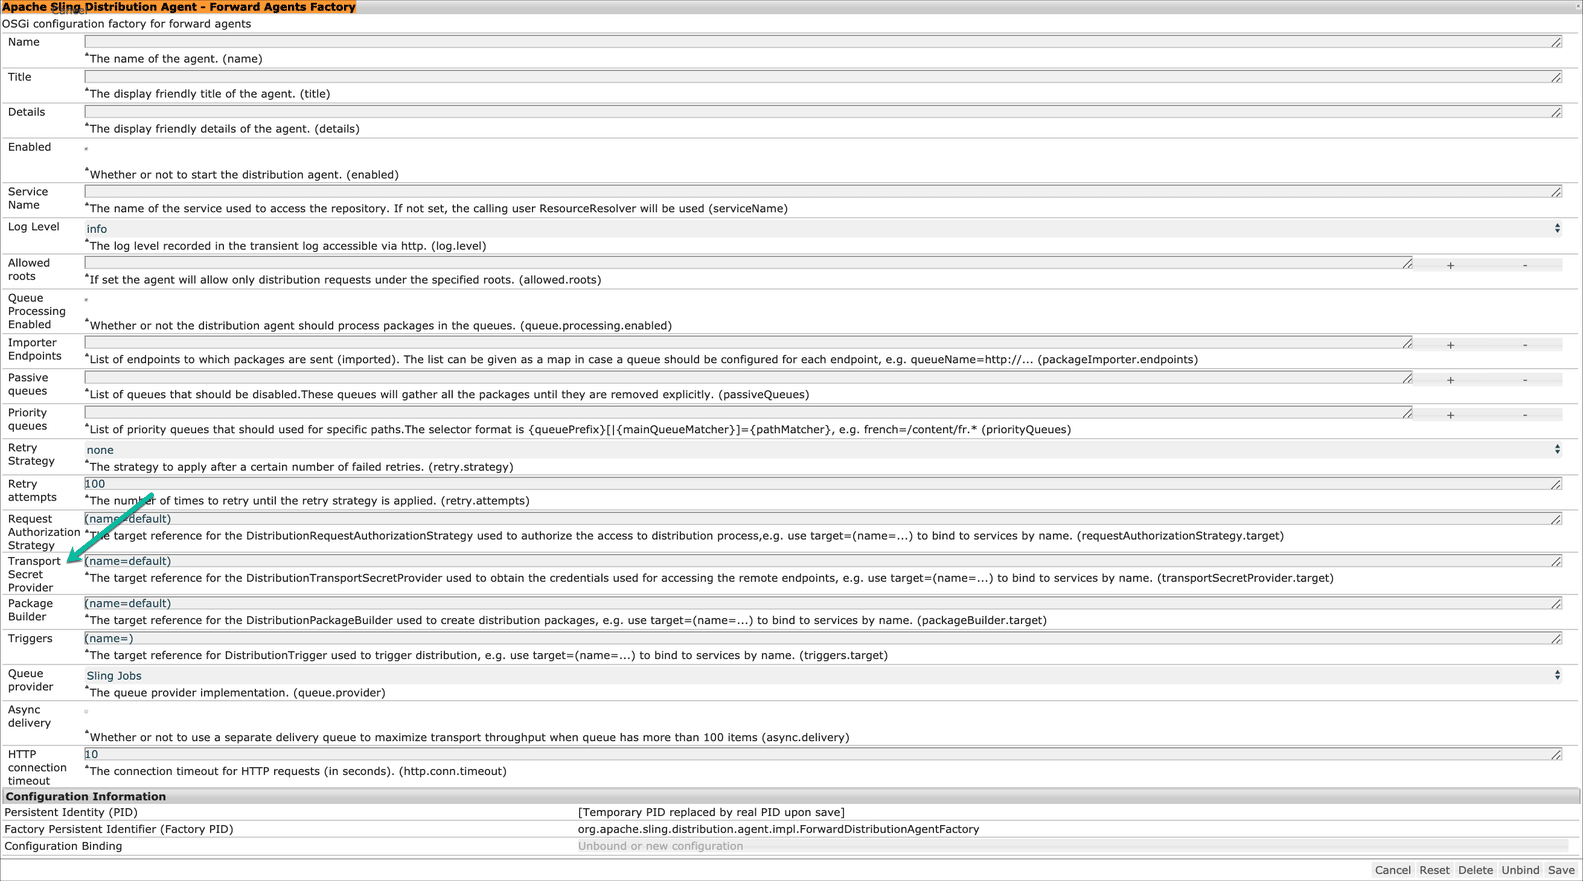
- Update the
(name=default) with (name=customDistributionAgent)
- In the publish instance, navigate to Tools > Operations > Web Console or hit this URL: http://<publish_host>:<publish_port>/system/console/configMgr.
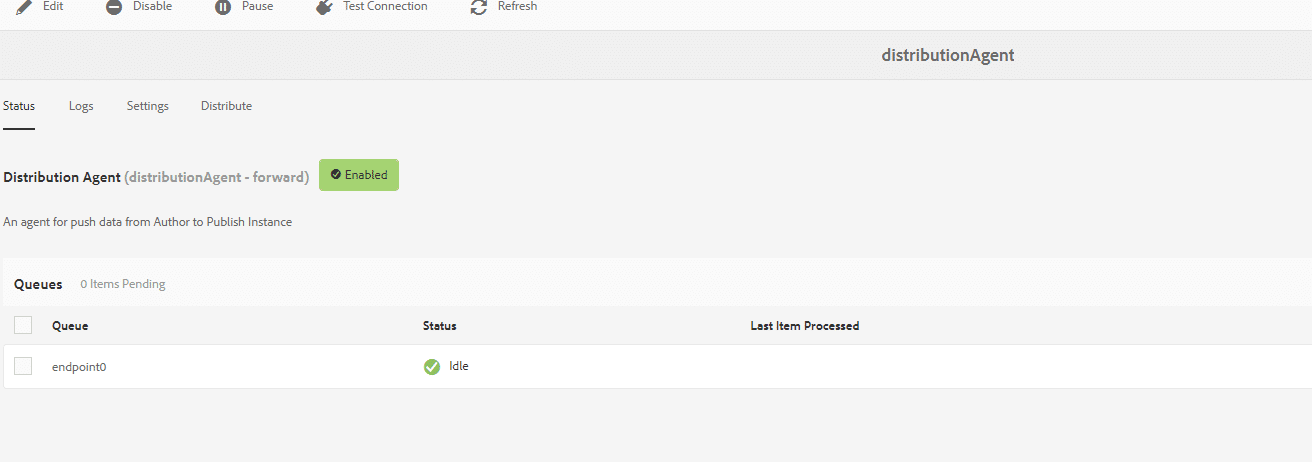
- Click Save and run the test connection again from the Distribution Agent screen on your AEM instance.
- Click Test Connection from the action bar to validate the communication of the author with the publish instance, as shown in the figure below.
Now we are ready with the forward content distribution agent but it will not be used in the replication process if we publish any page from the sites console because AEM uses default replication agent completes that publication. Here below, we will understand this in a more efficient manner.
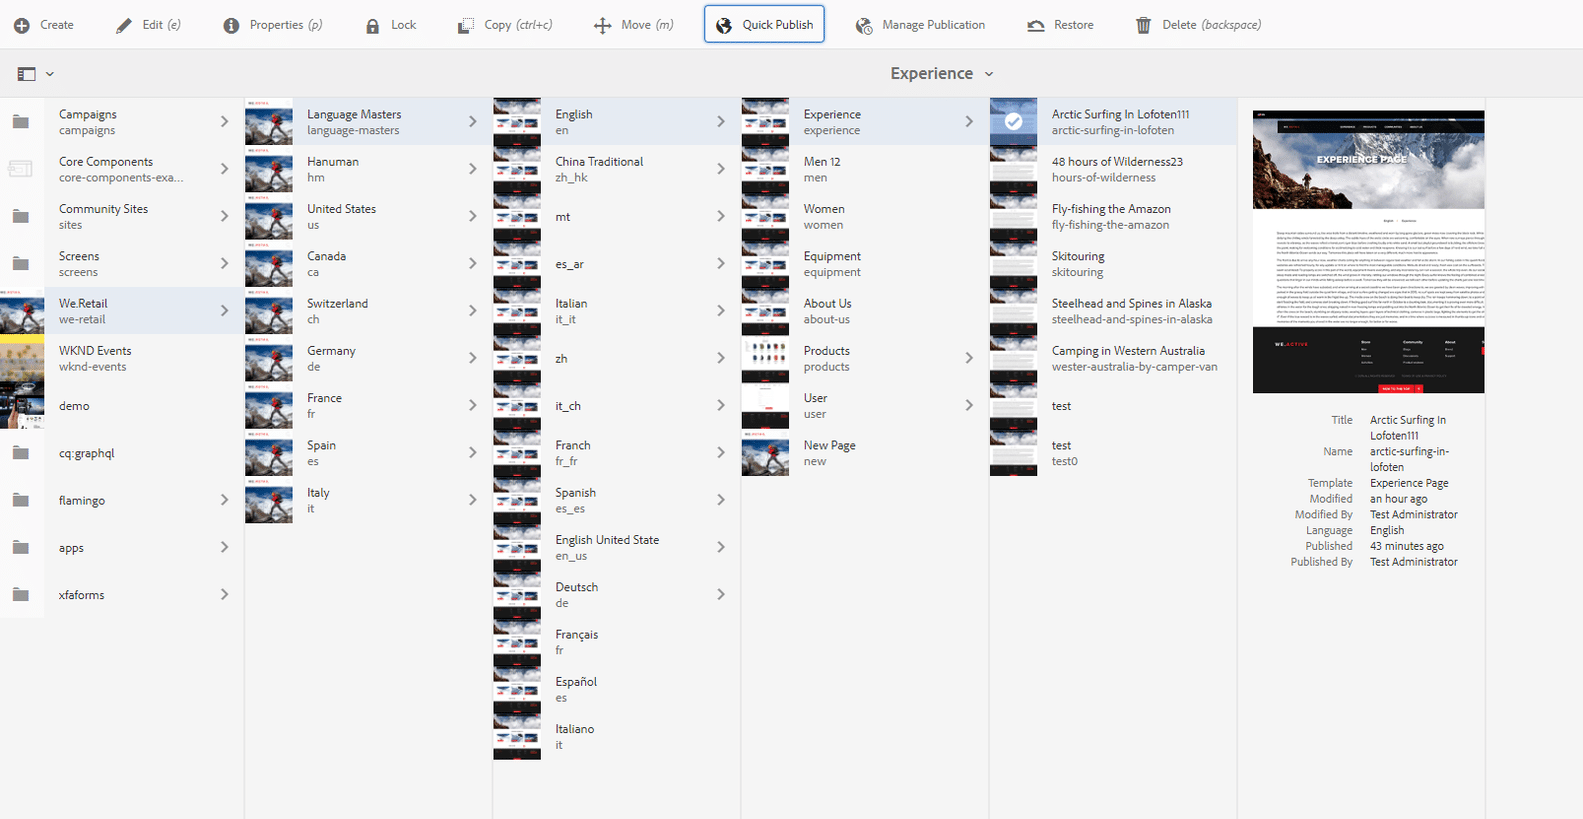
If we want to publish any page, then we click on that page and click on Quick Publish, so our page will be published. But now the default replication agent is working, not our custom distributed agent. We can check this in the logs of both agents. I published a /content/we-retail/language-masters/en/experience/arctic-surfing-in-lofoten page.
Note: If you want to check the logs of the default replication agent, then you should navigate to Tools > Deployment > Replication > Agent Author and click on the default agent (author). Click on View Log.
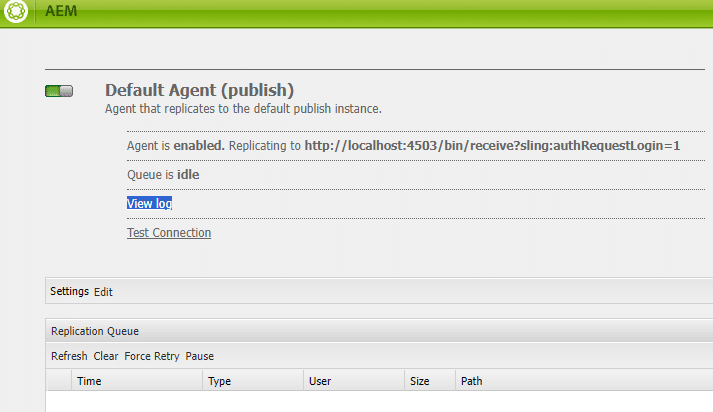
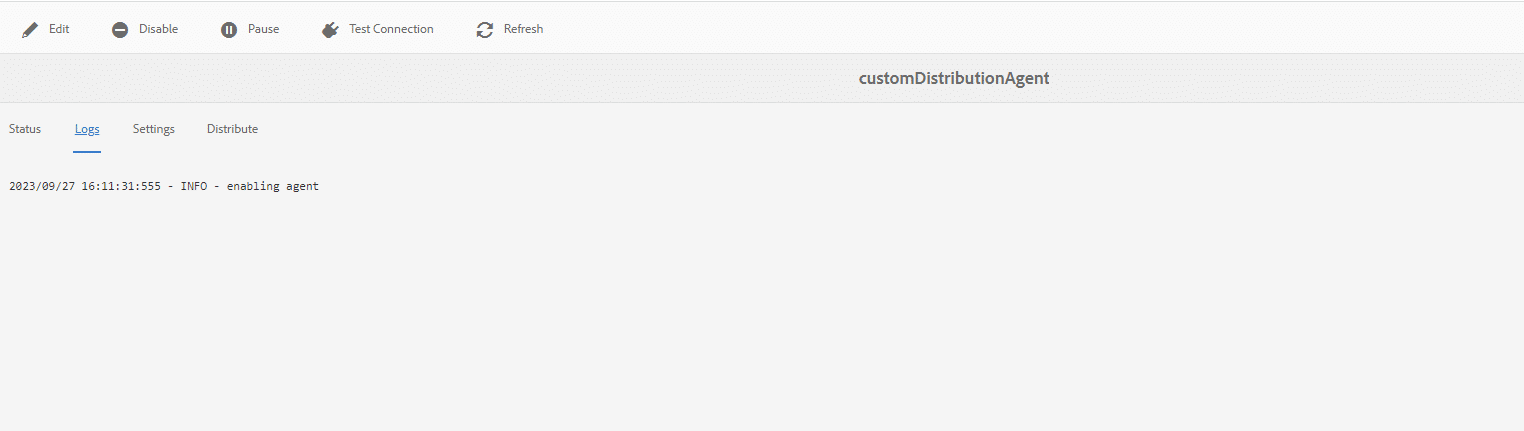
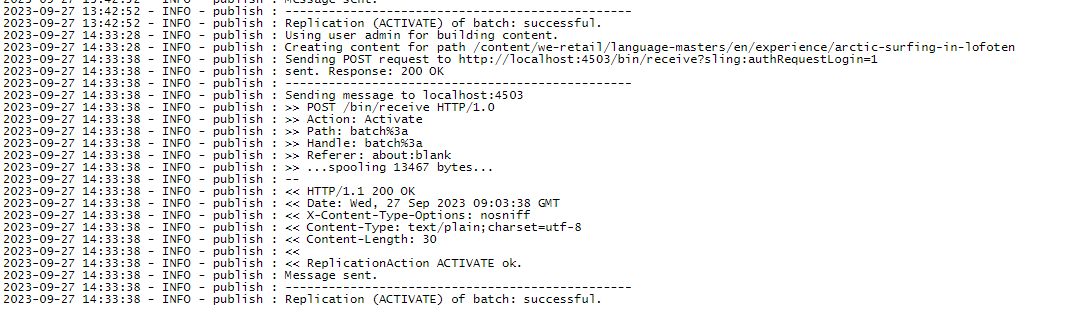
When we compare both images, there are no logs printed in our customeDistributionAgent. While in aem default replication agent did the publication.
In AEM out-of-the-box functionality, by default, when we publish any content, the automatic replication agent invokes and completes the process of publication. If we want to use our distribution agent, then we should do some configuration in the AEM replication default agent.
To activate our distribution agent for the default distribution agent, we have to do more configuration; until now, our distribution agent is ready.
Navigate to Tools > Deployment > Replication > Agents on Author and click on the Default Agent (Publish) to configure the setting.