
Adobe Experience Manager (AEM) is a comprehensive content management solution for building websites, mobile apps, and forms. It enables businesses to create, manage, and optimize digital customer experiences across multiple channels. Setting up an AEM development environment on Windows requires installing necessary software, configuring system variables, and running the AEM QuickStart JAR file. This guide outlines the step-by-step process to set up AEM for development purposes.
Step 1 – Install Required Software
- Install Java JDK 8 or 11 on your system.
- AEM QuickStart Jar and license details.
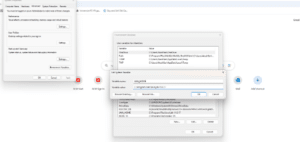
Step 2 – Edit System Environment Variables
- Open System Properties → Advanced → Environment Variables.
- Under System Variables, create a new variable:
- Variable Name: JAVA_HOME
- Variable Value: Set this to the path where JDK is installed (e.g., C:\Program Files\Java\jdk-11.x.x).
- Edit the Path variable and add the bin folder path (e.g., C:\Program Files\Java\jdk-11.x.x\bin).
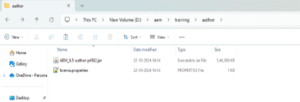
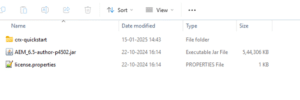
Step 3 – Create a folder structure for AEM. Copy your AEM jar file and license.properties file into your AEM folder, as shown in the screenshot below.
- Two basic run modes can be installed: Author and Publish. The Author run mode is the environment that developers will use to create and manage content.
- When developing most of the time you will be deploying code to an Author instance.
- The Publish instance is the AEM environment in that visitors to your website will interact.
- We are setting the development environment i.e.(author).
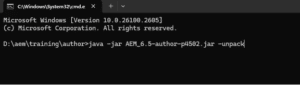
Step 4 – Open the CMD (Command Prompt) in your folder hierarchy and unpack the JAR (Java Archive) file with command
“java –jar <aem-jar-file-name>.jar -unpack”
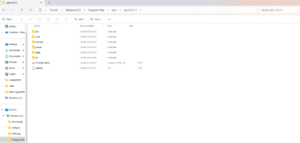
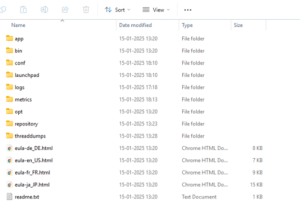
Step 5 – After Unpacking the JAR file, you will see that crx-quickstart folder is automatically created.
Step 6 – Open the crx-quickstart folder then you will see the multiple folders.
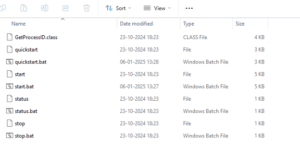
Step 7 – Open the bin folder then you will see the multiple files.
Step 8 – Modify AEM Configuration
Open the start.bat file in a text editor to change the AEM startup parameters such as port, run mode, host, etc.
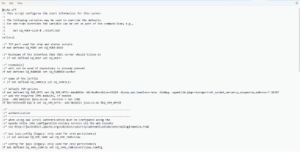
In this file you can configure the Port and Run Mode according to your requirements. For initial setup you should update the RAM/Memory by following below steps:
- Update memory settings from “-Xmx1024m -XX:MaxPermSize=256M” to “-Xmx4096m -XX:MaxPermSize=1024M”.
- To enable debugging mode, add “-Xdebug -agentlib:jdwp=transport=dt_socket,server=y,suspend=n,address=*:30307”.
Final Step – To run AEM, double-click on the start.bat file to start the process.
- AEM server will be up in 5 minutes(depending on your system configuration) and the aem console will open on port 4502.
- Below screen will come up when the server is up and enters a password use admin.
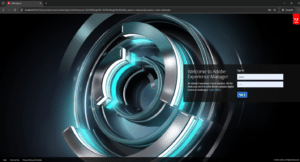
Congratulations, you have completed the initial AEM Setup.